Showing posts with label painted. Show all posts

Tuesday, May 21, 2013

Custom Kaiju: Sculpey Hedorah


Rather than another review, today's post is about another of my forays into Sculpey, uh, "art."  A few years back I got some inspiration by looking at old vintage vinyl kaiju toys (like Muruchi), and thinking that perhaps I could replicate the look using my sculpting and painting skills.  Thinking hard about monsters that would be tough to screw up, I settled on Hedorah, a perennial favorite of the Godzilla fandom.  Hedorah is the "smog monster" from the 1971 film Godzilla vs.Hedorah.  An extraterrestrial alien, Hedorah is capable of forming directly from pollution and toxins, and so he has a sludgy, gloopy, dark body.

While making this Hedorah, I was thinking of all the crazy proportions and colorful paint sprays one sees on old vinyl toys, and also of ways of replicating the simple articulation that usually went along with them.  After some cogitation and a few hours forming a globby body, I had something ready to paint.  I went for a dark base, and then started dry-brushing various metallic colors over the surface.


Very little articulation actually made it into the final piece, but the arms can actually rotate at the shoulder.  


Hedorah's got a long "tail," but it really could just be the goo from his body dragging behind him.


You might notice something odd about the eyes here.  There is a gloss coat and a bit of paint on the pupil and white ring around the cornea, but they are otherwise just the original Sculpey color.


I made the eyes out of glow-in-the-dark Sculpey colors!  The photo isn't really all that great as my camera does not do well in low light, but you get the idea.  I probably should have left him under a bright light for a bit longer.


In painting this guy, I was aiming for the sort of rainbow effect that an oil slick will produce.


Here's a glimpse into how the arms can stay in place and still move while made from hard baked Sculpey.  Magnets are the key!  Unfortunately, there is a bit of paint that rubs off at the joint, but this guys is pretty much for display only.  Sculpey is not exactly the material of choice for toys.


Someday perhaps I'll get around to making up some other Sculpey kaiju.  Hedorah at least has Godzilla and Minilla for company.  Luckily they're not busy having an all-out monster brawl in my display case.


Friday, March 22, 2013

Custom Robots: Grunt!

I am what I would call a "periodic artist."  That is, I only periodically get the urge to build, paint, draw, or mess about with Sculpey.  When I do have some inspiration that hits me just the right way, then I do have to go make it almost immediately.  A few years back, I had a visual cue (from a paper towel dispenser of all things) that lead me to make a series of small Sculpey robot characters.  This is just a small recap of one of these creations.

Grunt, as I call him, started out as a pencil doodle.  My first design in this series of figures wound up being only about an inch and a half in height, and I knew that Grunt was going to be bigger.  An intermediary robot was larger than the first, but being made almost entirely of Sculpey, was very heavy.  I wanted to make this one out of something that would be easily manipulated, lighter weight, and paintable.  So, I settled on scraps of two-by-four pine and wood filler as my major components.  Basically, I took two sections of square-cut wood and glued and screwed them together, filling in the gaps with wood filler, and laying a generous coating of the filler over the surface.  


Some sanding and scoring later, I had a pretty good start.  My drawing included some buck-teeth, but they didn't seem to work once translated into a three-dimensional object, so I didn't press my luck adding them in.


You can see the variegated  coloring of the wood filler here.  Dried and sanded with fine-grit steel wool, it is quite smooth.


I added another smaller block of wood, some cut dowel lengths, and a variety of Sculpey additions to the blocky body to make the final, unpainted character.


The panel scoring goes all the way around the body.  I added some rear vents in the body and the undercarriage.


A small "console" of sorts sits on Grunt's side. 


Here you see my relatively clumsy way of attaching the undercarriage.  It has the advantage, however, of being removable if needed, and more easily allowed for the wrap-around Sculpey treads to be attached to the dowel bits.


When painting my creations, I use a variety of techniques including some washes and dry-brushing.  I settled on an orange and white color scheme that seemed fairly in keeping with the utilitarian nature that I had imagined for Grunt.  


He has a look that says he's both well-meaning, but also self-satisfied.


I tried to make it appear that Grunt has been hard at work, and has had little time for a bath.


I added a few small colored pits in the surface above the console, and gave it a nice shiny coating of silver.


Here you can see the rear vents painted up to represent staining from exhaust fumes.


Grunt is not entirely symmetrical, as he has no console on this side. 


The top also sports some panel lines and the two-tone coloration.


This view shows off the top surface a bit better.


Hopefully, I'll do some pictorial reviews of my other figures in the series, but Grunt is really the only one that I photographed during the process of creation.  I'm pretty proud of Grunt.  He manages to represent my original drawing faithfully, and I am pleased with how the paint job came out.  Each of these characters has its own unique personality (at least in my mind), and Grunt is sort of an ignorance-is-bliss kind of guy - always cheerful and ready to do a hard job for someone in need.  I like cute little characters, and who doesn't love someone who seems so happy all the time?  Go, go, Grunt!


Saturday, March 2, 2013

Toy Review: West Kenji SD Godzilla and Minilla

Today's review is a toy set that means a lot to me personally for a variety of reasons.  I've been a huge fan of  Godzilla movies since I was a young boy, and though I am a collector, I don't own much in the way of Godzilla memorabilia.  However, when I saw this kit at a local comic shop many years ago, it just seemed to call to me.  West Kenji was a Japanese manufacturer of soft vinyl model kits featuring the likenesses of a variety of characters from the Godzilla universe.  Regrettably, West Kenji seems to have closed up shop.  I'm not at all sure when they stopped producing these kits, but this particular one was released in 2003.  It's a shame as I would have liked to pick up a few more.

When I was young I used to spend a good portion of my free time painting lead and resin miniatures for use with role-playing games like Dungeons and Dragons.  Knowing that acrylic paints would work well with vinyl as well, I started in on painting this set almost immediately.  This was my first try at such a kit, but I was pleasantly surprised at how well it all worked out.  Vinyl models like these usually come in parts and need to be fitted together.  In the case of this set, the heads, arms, and legs were all separate from the bodies.  It was a snap to trim off any extra gray vinyl from the parts and assemble the two figures.  My biggest worry was that when painted, any movement of the parts would wind up rubbing the paint off from around the joints.  However, time has shown this to be a baseless fear.  These two might as well be small mass-production toys in regards to their durability.  I won't go into much detail of how I actually painted these up, but a variety of techniques yielded up a pretty nice look.

If you don't already know, SD stands for "super deformed" which refers to a particular style of Japanese caricature.  SD characters are usually drawn with large heads, and small arms and legs, as if they were children.  There are actually quite a few lines of SD toys that represent anime characters, giant monsters (or kaiju), robots (Gundam especially), and so on.  The design of Godzilla in this kit follows his appearance in the late 60's film, "Son of Godzilla," along with his baby, Minilla.  It is entirely appropriate that this kid-friendly movie's heroes wind up in miniaturized form.

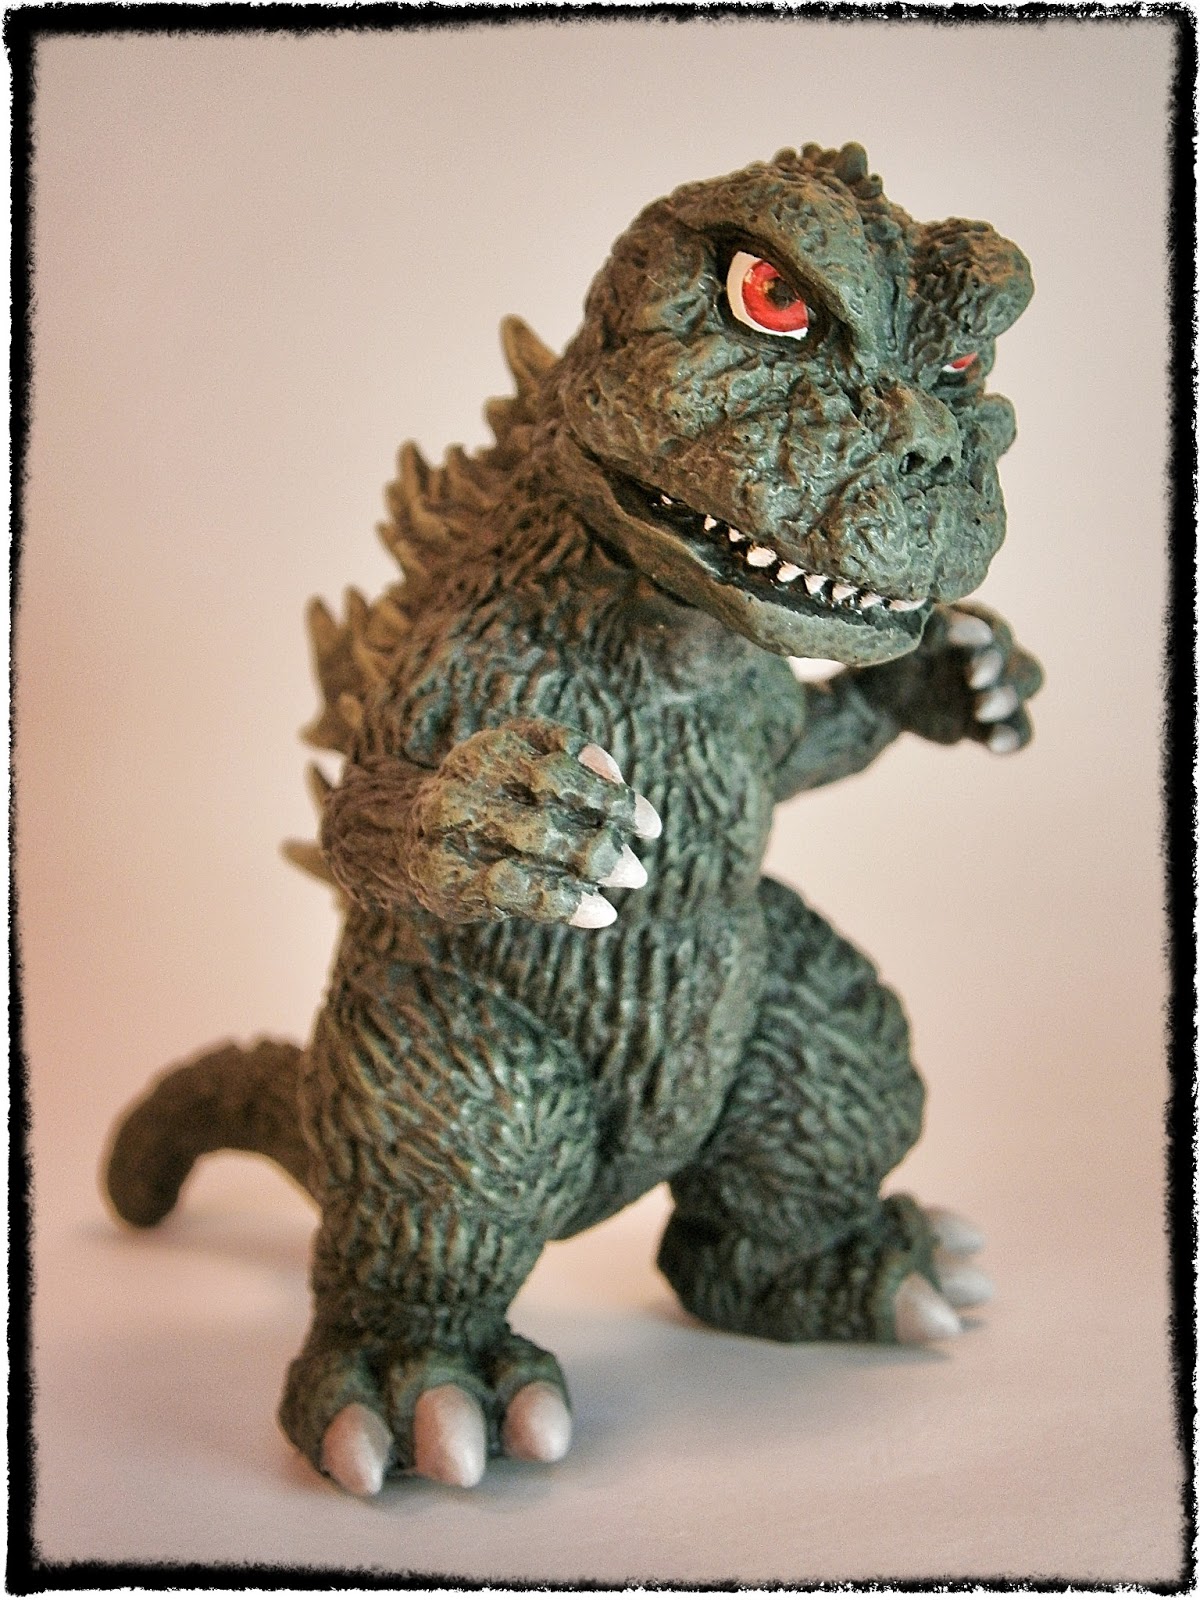
Here is the end result of my paint job on these particular SD figures.  Godzilla stands about four inches high, and Minilla measures around two and a half inches.


The texture on the figures is quite nice, and detail accurately represents the look of the monster suits from the movies.  Although Godzilla is technically supposed to be a charcoal gray color in the films, I chose to add a bit of green to his skin tone.  This is how Godzilla was always represented in toy form when I was a child.


Godzilla looks good from just about any angle.


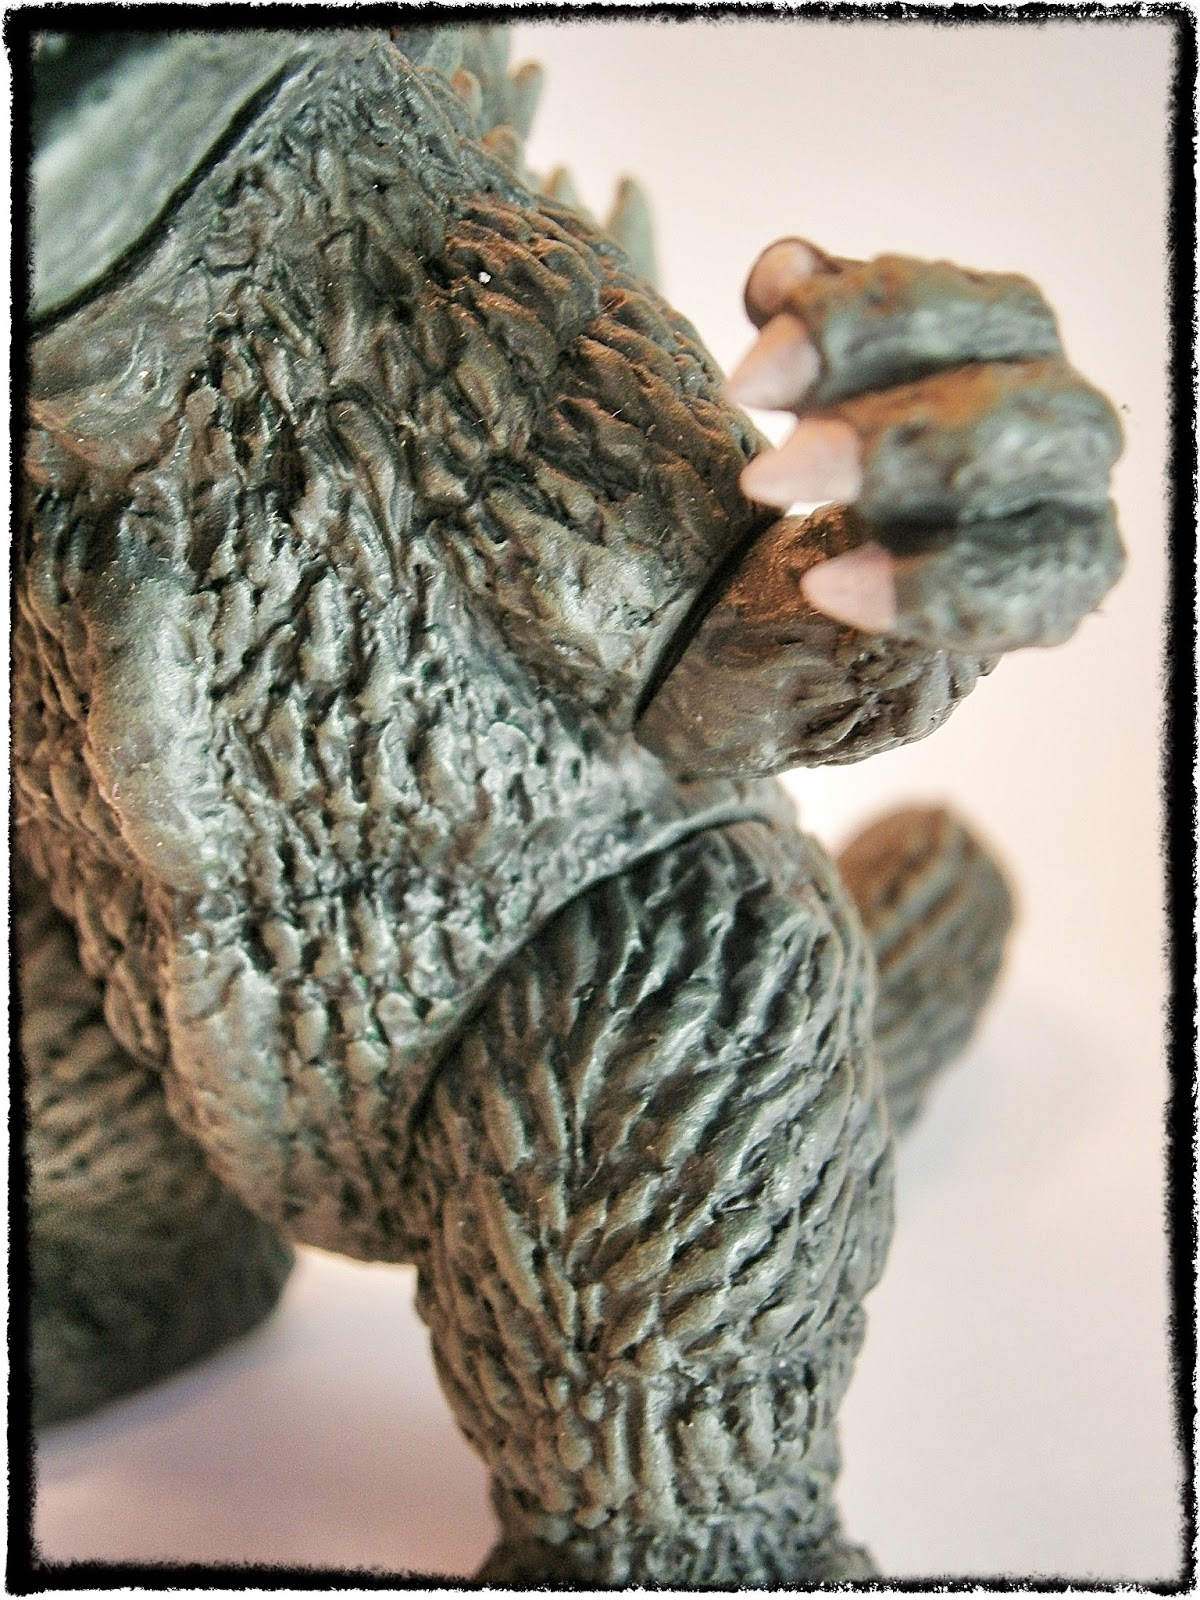
The seams for arms, legs, and neck can be seen here.  Each can rotate 360 degrees.


He's got a minimum of articulation, but this is hardly abnormal for a vinyl figure.  Godzilla's characteristic dorsal fins are nicely represented here.


Minilla has the same level of detail as Godzilla, if not the same number of points of articulation.  Minilla's head, and arms can be rotated.


Minilla just looks like a baby Godzilla.  He hasn't even grown his fins yet!  In the films, Godzilla is often shown teaching him the ropes of being a giant monster, including how to breath fire.  Minilla seems only to be able to puff out smoke rings, however.


Godzilla is always looking out for Minilla.  Oddly, there never is a mention of Momzilla anywhere in the movies.


"I love you, Daddy!"


This is a phrase any father would long to hear, and it's part of why I love this movie so much.  I am always reminded of my own relationship with my boys when I watch it.  It's just a really cute and fun movie, and they seem to love it as much as I do.  This kit, too, was a lot of fun to build and paint, and I still get a lot of joy out of it to this day.